How to Install and Configure TaskBoard on Ubuntu 18.04 LTS
TaskBoard is an open source Kanban-inspired app that can be used to keep track of things that need to get done. It comes with a built-in web interface for keeping track of tasks. It is simple, easy to install and works on almost any web hosts. TaskBoard allows you to create unlimited board, projects and customize columns within boards. TaskBoard provides lots of features such as, basic user management, RESTful API, Items display complete history of activities and Full history of all board activity.
In this tutorial, we will learn how to install TaskBoard on Ubuntu 18.04 server.
Requirements
- A server running Ubuntu 18.04.
- A root password is set up to your server.
Getting Started
The first step is to become the root user on your system. To do so, run the command:
sudo -sBefore starting, you will need to update your system with the latest version. You can do this by running the following command:
sudo apt-get update -y
sudo apt-get upgrade -y
Once your server is updated, restart your server to apply the changes.
Install Java
First, you will need to install java to your system. By default, the latest version of Java is not available in the Ubuntu 18.04 default repository. So, you will need to add the java repository first.
You can do this with the following command:
add-apt-repository ppa:webupd8team/javaOnce the repository is installed, you can install the java with the following command:
apt-get install oracle-java8-installer -yAfter installing Java, check the version of java with the following command:
java -versionYou should see the following output:
java version "1.8.0_201"
Java(TM) SE Runtime Environment (build 1.8.0_201-b09)
Java HotSpot(TM) 64-Bit Server VM (build 25.201-b09, mixed mode)
Once you have done, you can proceed to the next step.
Install Apache, SQLite, and PHP
TaskBoard runs on a web server, written in PHP and use SQLite to store their data. So, you will need to install Apache, SQLite, PHP and other required dependencies to your server. You can install all of them with the following command:
apt-get install apache2 sqlite3 php7.2 libapache2-mod-php7.2 php7.2-cli php7.2-common php7.2-json php7.2-readline php7.2-sqlite3 libaio1 libapr1 libhtml-template-perl libaprutil1-dbd-sqlite3 libaprutil1-ldap libaprutil1 libdbi-perl libterm-readkey-perl curl libwrap0 unzip wget -yOnce all the packages are installed, start apache service and enable it to start on boot with the following command:
systemctl start apache2
systemctl enable apache2
Install TaskBoard
First, download the latest version of TaskBoard from Git repository with the following command:
cd /tmp
wget https://github.com/kiswa/TaskBoard/archive/master.zip
Once the download is completed, extract the downloaded file with the following command:
unzip master.zipNext, move the extracted directory to the Apache web root directory with the following command:
mv TaskBoard-master /var/www/html/taskboardNext, change the directory to the taskboard and update the composer with the following command:
cd /var/www/html/taskboard
./build/composer.phar self-update
You should see the following output:
Updating to version 522ea033a3c6e72d72954f7cd019a3b75e28f391.
    Downloading: 100%
Use composer self-update --rollback to return to version feefd51565bb8ead38e355b9e501685b5254d0d5
Next, install the php dependencies with composer by running the following command:
./build/composer.phar installYou should see the following output:
Do not run Composer as root/super user! See https://getcomposer.org/root for details
Loading composer repositories with package information
Installing dependencies (including require-dev) from lock file
Package operations: 5 installs, 0 updates, 0 removals
  - Installing firebase/php-jwt (1.0.0): Downloading (100%)
  - Installing gabordemooij/redbean (v4.2.1): Downloading (100%)
  - Installing ircmaxell/password-compat (v1.0.4): Downloading (100%)
  - Installing phpmailer/phpmailer (v5.2.14): Downloading (100%)
  - Installing slim/slim (2.6.2): Downloading (100%)
phpmailer/phpmailer suggests installing league/oauth2-client (Needed for XOAUTH2 authentication)
phpmailer/phpmailer suggests installing league/oauth2-google (Needed for Gmail XOAUTH2)
slim/slim suggests installing ext-mcrypt (Required for HTTP cookie encryption)
Generating autoload files
Next, build JavaScript and CSS with the following command:
./build/build-allYou should see the following output:
Building...
 Installing dependencies
Do not run Composer as root/super user! See https://getcomposer.org/root for details
Loading composer repositories with package information
Installing dependencies (including require-dev) from lock file
Nothing to install or update
Generating autoload files
 Compiling lib JS files...
 Minifying lib CSS files...
 Compiling app JS files...
 Minifying app CSS files...
 Updating index.html...
Build Complete
Next, give proper permissions to the taskboard directory with the following command:
chown -R www-data:www-data /var/www/html/taskboard
chmod -R 755 /var/www/html/taskboard
Once you have done, you can proceed to configure Apache for TaskBoard.
Configure Apache for TaskBoard
Next, you will need to create an Apache virtual host file for TaskBoard. You can do it with the following command:
nano /etc/apache2/sites-available/taskboard.confAdd the following lines:
 VirtualHost *:80
    ServerAdmin [email protected]
    DocumentRoot "/var/www/html/taskboard"
    ServerName 1example.com
    Directory "/var/www/html/taskboard"
        Options Indexes FollowSymLinks
        AllowOverride All
        Require all granted
    /Directory
    ErrorLog "/var/log/apache2/taskboard-error_log"
    CustomLog "/var/log/apache2/taskboard-access_log" combined
/VirtualHost
Save and close the file. Then, enable the virtual host file with the following command:
a2ensite taskboard.confNext, enable Apache rewrite module and restart Apache web service with the following command:
a2enmod rewrite
 systemctl restart apache2
Access TaskBoard
TaskBoard is now installed and configured, it’s time to access TaskBoard web interface.
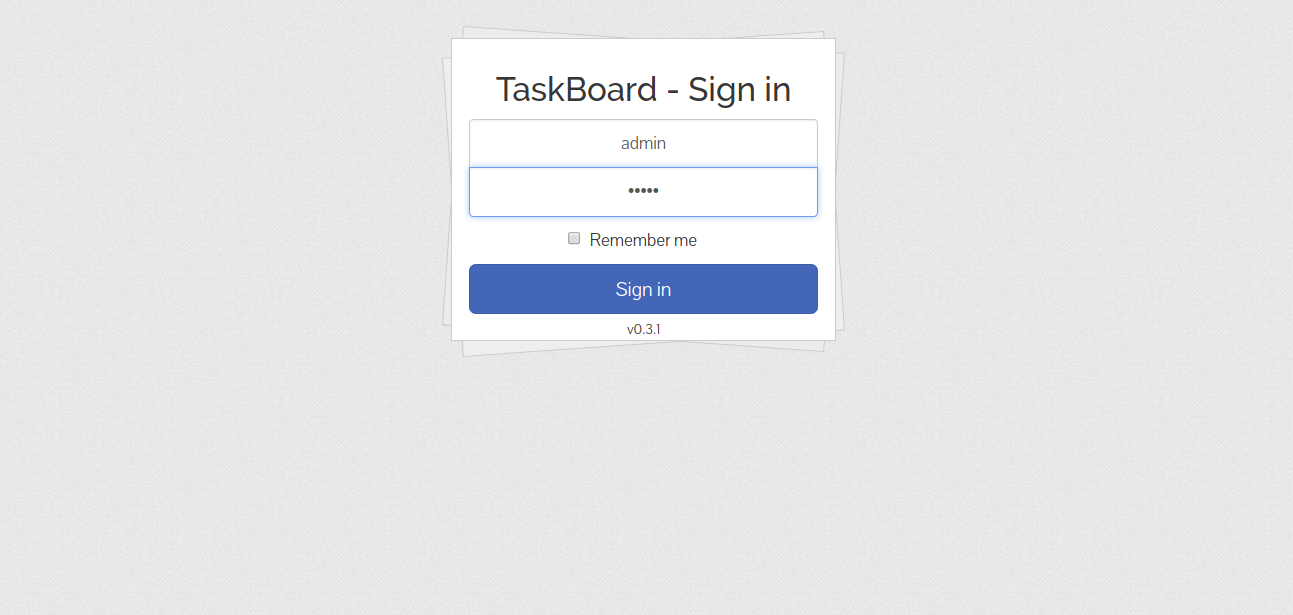
Open your web browser and type the URL http://example.com. You will be redirected to the following page:
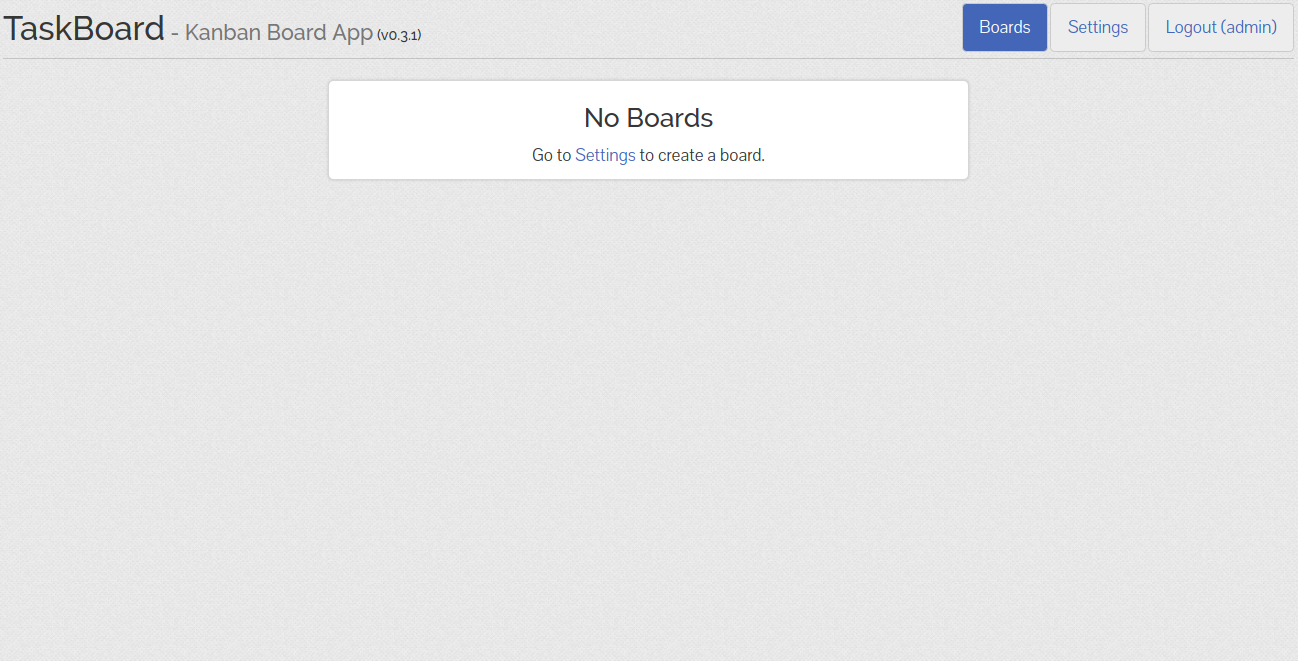
Provide default administrator username and password as admin / admin and click on the Sign In button. You should see the following page:
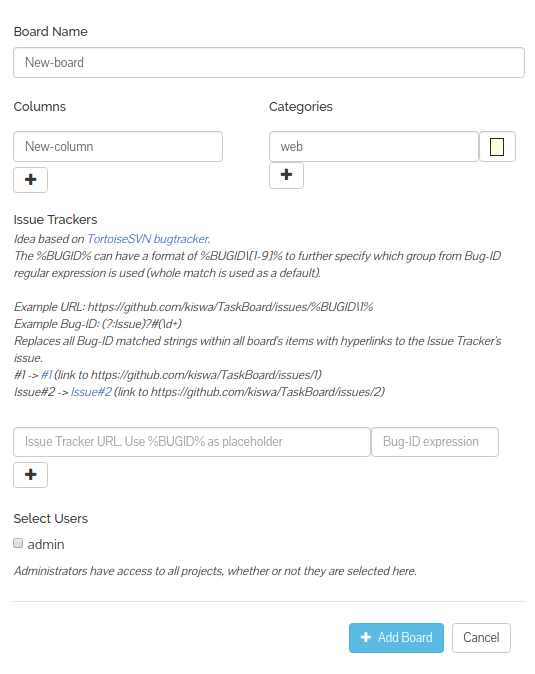
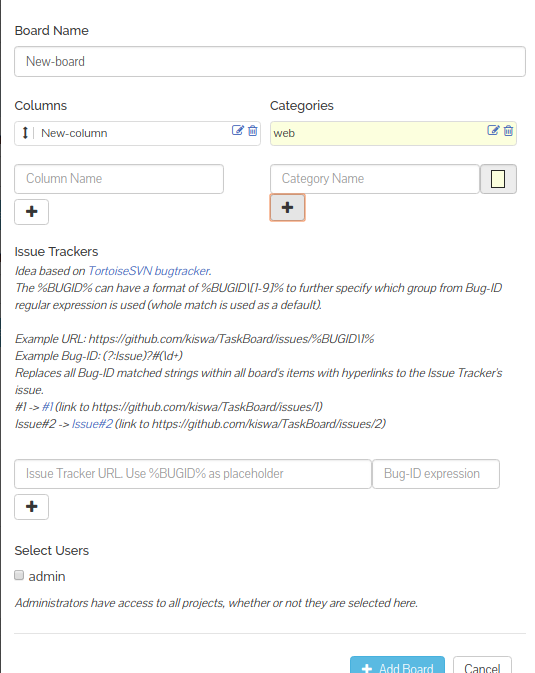
Now, click on the Settings button and change the default password as you wish, then click on the Update password button. Next, click on the Add Board button, you should see the following page:
Next, provide Board Name and Columns and click on the + button, you should see the following page:
Now, click on the Add Board button to add the board.
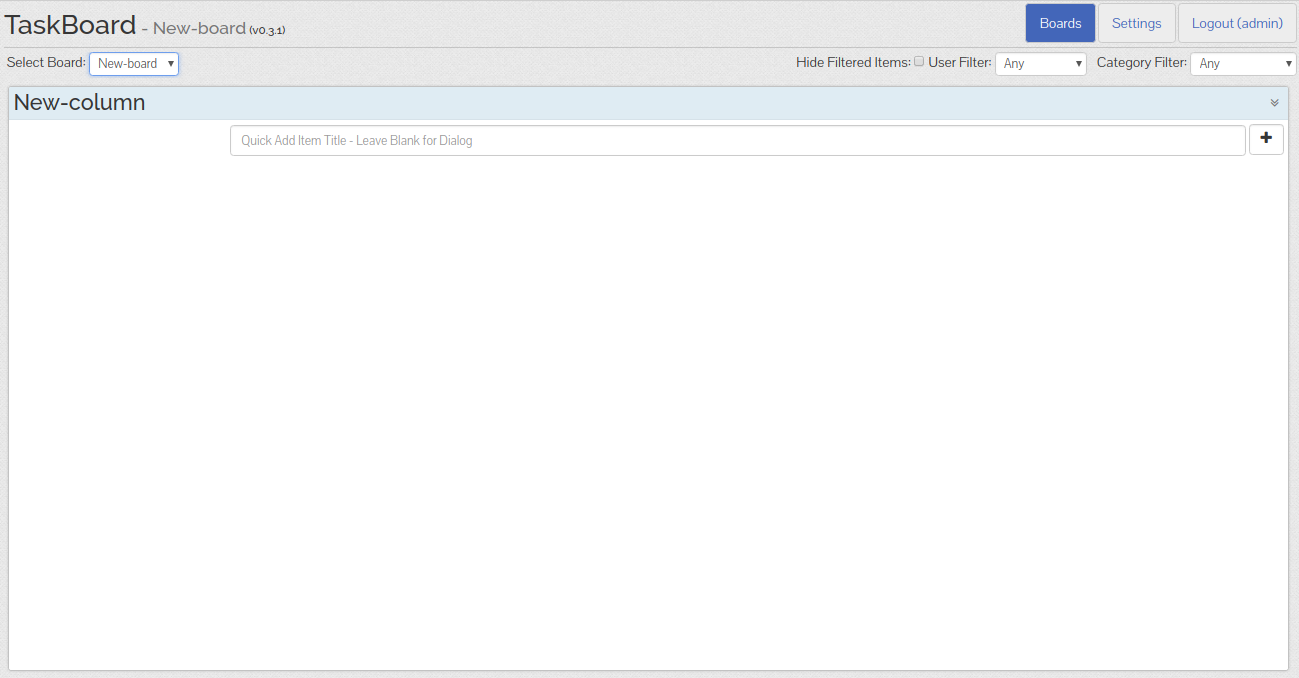
Next, navigate to home page and select your newly created board. You should see the following page:
Congratulations! you have successfully installed TaskBoard on Ubuntu 18.04 server. You can now keep track of your task using TaskBoard. Feel free to ask me if you have any questions.

